

Opening Chat
As someone born after 1995, I love watching short videos, especially content about lifestyle transformations. Every time I finish watching, I can't help but exclaim "Wow, you can do that?" Today I want to share some magical tips that I've personally tried. To be honest, I started as someone who was quite clumsy, but through constant exploration and practice, I can now create some pretty decent handmade items. These creative ideas not only drastically improved the aesthetics of my rental apartment but, most importantly, they're super cost-effective - perfect for young professionals like us who've just started working!
Glass Transformation
When it comes to glass transformation, I really need to talk about this in detail. I remember being so nervous the first time I tried painting a glass vase, worried that I might ruin such a beautiful piece. Looking back now, there was really no need to be so anxious - this is totally beginner-friendly DIY!
First, let's talk about tool preparation. You'll need: Glass-specific paint (strongly recommend water-based as it's non-toxic, odorless, and easy to wash off if it gets on your hands), various sized brushes (I bought a set from Taobao for just over 20 yuan), and cleaner (regular glass cleaner works fine).
Here's a lesson learned the hard way: never skip the cleaning step! My first time, I thought the vase looked clean enough and started painting right away. After all that work, I woke up the next day to see the paint peeling off in large patches, making me want to throw the vase away. Later I learned that glass surfaces may look clean but actually have an invisible layer of oil. So make sure to clean thoroughly with cleaner, then wipe with a dry cloth to ensure the surface is completely clean.
Let's talk about the actual painting steps. I now always start with pencil sketches since pencil marks are super easy to erase if you make a mistake. For patterns, I recommend beginners start with simple geometric shapes like polka dots or triangles. Once you get a better feel for paint control, you can try more complex patterns.
There are so many coloring techniques! First, follow the principle of light to dark. For example, if you want to paint a flower with gradient colors, start with the lightest pink as the base, and after it dries, gradually layer on darker colors to create natural transitions. Also, be patient - it's better to apply multiple thin layers than one thick layer. I made this mistake before, and the paint dried unevenly, looking very amateur.
Finally, don't forget to apply a protective coating. My first time, I started using it right away, and the pattern got worn off after just a short while. Later I bought specialized glass protective coating from Taobao - spraying on one layer not only makes the colors more durable but also gives it a really nice finish.
Magnetic Decorations
Magnetic decorations are really my favorite! It started because I couldn't drill holes in my rental apartment walls and was just trying to beautify my fridge. Who knew I'd get so hooked - now my fridge door is practically a mini art gallery, haha!
The material preparation is super simple: first, various cute decorations, which I usually pick up from stationery or variety stores when I see something I like. I bought strong magnets from Taobao, just over ten yuan for a large pack. A hot glue gun is also inexpensive, only twenty or thirty yuan.
I need to specifically mention magnet selection - this is experience gained from my mistakes. Definitely choose flat disc magnets; cylindrical ones might be stronger, but they stick out too much from the fridge and look weird. Plus, it really hurts if you accidentally bump into them.
The creation process is super simple: just use hot glue to attach the magnets to the back of decorations. But here's a tip: before gluing, slightly sand both the magnet and the back of the decoration - this makes the bond stronger. My first time, I skipped the sanding to save time, and the decorations fell off after just a couple of days.
There's also technique in arrangement. I like to organize by theme, like putting all animal series together and plant series together, which makes it look more organized. And I recommend leaving some blank spaces rather than filling it completely - otherwise it looks too cluttered.
Recently I developed a new way to use these magnetic decorations, combining them with sticky notes. For example, I use cute animal magnets to hold important reminders, making them both practical and fun to look at.
Letter Art
Letter art was really a major discovery for me! When I first moved into my rental apartment, the walls were so bare and dull. But I didn't want to spend big money on branded decorative paintings, so I started looking for inspiration online. When I saw people using wooden letters as wall art, I was instantly hooked!
There's a lot to consider when selecting materials. I tried wooden letters from several stores and found that hollow ones look the best. Solid ones look too heavy and are also quite a bit more expensive. As for size, I recommend choosing letters 15-20cm tall - this size is perfect for living room walls, neither too small to make an impact nor too large to feel overwhelming.
Paint selection was also perfected through multiple attempts. Initially, I thought oil paint would work better, but I almost choked on the fumes. Later switched to acrylic paint, which is not only non-toxic and eco-friendly but also works surprisingly well. I now regularly use Wenwan brand acrylic paint - the colors are very rich and don't fade easily.
Let's talk about the specific creation steps. First is priming, which is really crucial. I now always start with a layer of white acrylic - this makes the subsequent colors especially vibrant. When priming, ensure even coverage, especially in the corners and edges of the letters. After the base is completely dry (I usually wait 24 hours), you can start applying the main color.
My favorite is the gradient effect - it looks especially high-end. For example, transitioning from light blue to dark blue, or from light pink to deep rose. There's a trick to creating gradients: prepare a palette and mix the two colors well beforehand to achieve a natural transition.
Here's another tip I've figured out: use a small brush to outline the letters as the final step. This not only makes the letter outlines clearer but also covers any places where paint might have gone outside the lines.
There's technique to hanging them too. I usually use a measuring tape to ensure equal spacing between letters. And I recommend hanging them above the sofa or dining table - focal points that really make the letters stand out.
Rug Creation
When it comes to rugs, they're really items that are both practical and can elevate a room's style. But prices in the hundreds or thousands really make me, as a salary worker, hesitate. Later I discovered that transforming ordinary rugs yourself not only saves a lot of money but often results in pieces more unique than those in stores.
For material selection, I can say I went through countless trials before finding the best solution. For the base rug, I strongly recommend IKEA's TIPHEDE series - they're very budget-friendly and pure white, perfect for DIY. For fabric paint, I recommend professional textile paint; though more expensive than regular paint, it's washable, durable, and won't fade.
Before starting, you must thoroughly clean the rug and let it dry. Don't skip this step - dust on the rug's surface will affect paint adhesion. I usually vacuum first, then wash with clean water, and finally let it dry on the balcony for a day or two.
Designing the pattern is the most brain-intensive step. I suggest drawing it on paper first and only starting once you're sure you like it. My first time, I just painted wherever I felt like, but after finishing realized it wasn't coordinated at all, and since you can't erase it, I had to buy a new rug.
In actual operation, masking tape is essential. It helps fix your pattern outline, making painting faster and more accurate. But when applying masking tape, be careful not to stick it too tightly, or it might pull off the rug's fibers.
Coloring technique is also important. I now always start with large areas of color as base, and after it's completely dry, add details. For straight lines, you can use a ruler with masking tape - this makes the lines very neat. For gradient effects, you can dilute the paint and spray it on for a very natural look.
Finally, let's talk about maintenance. The biggest concern with DIY rugs is color fading, so after it's completely dry, definitely spray on a layer of fabric protector. For regular cleaning, try to dry clean when possible, and if you must wash with water, use mild detergent and not-too-hot water.
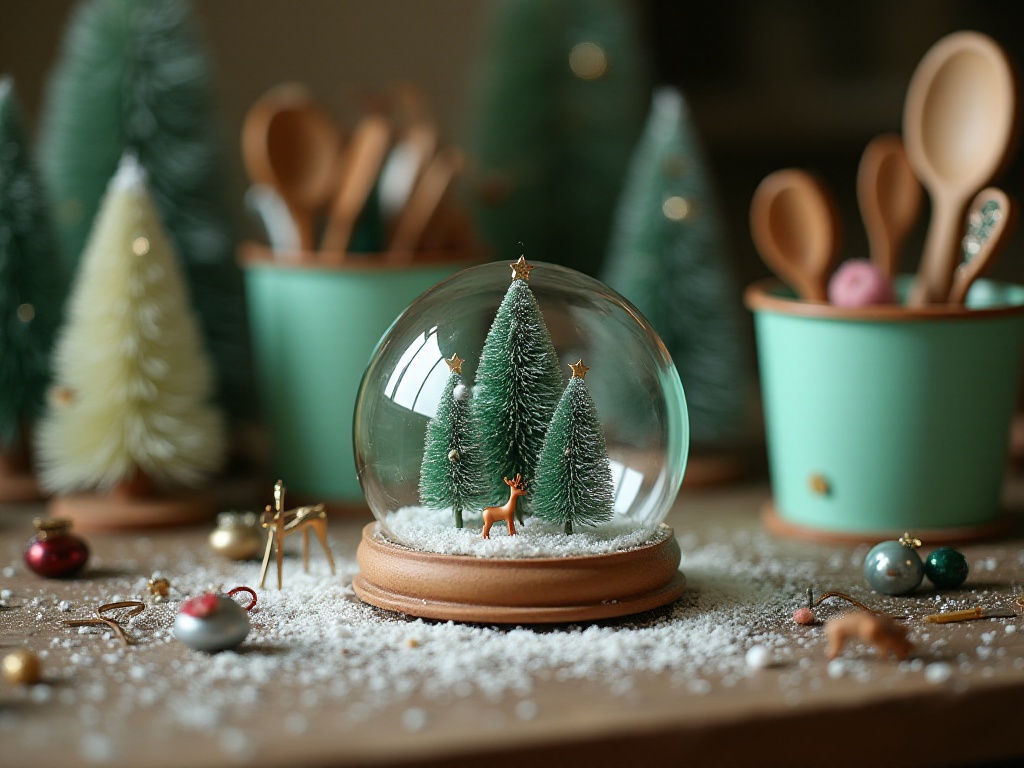
Wreath Decoration
During holidays, what excites me most is making seasonal decorations. Among them, wreaths are definitely the most cost-effective choice, and the results can be really stunning. I now change wreaths with different styles each season, keeping my home constantly in a festive atmosphere.
Material selection is really key. I've tried many types of flowers and found that those that can be dried are most practical. Like baby's breath - it stays beautiful when dried and can be preserved for a long time. Eucalyptus leaves are also a great choice, not only beautiful but with a subtle fragrance. Vine is the best choice for making wreath frames - it's both lightweight and easy to shape.
Before making the wreath, soak the vine in water to soften it - this makes it easier to bend into a circle. I usually soak for about half an hour, then slowly bend it into a circle and secure it with wire. This process requires special patience because vines can easily break when bending.
Next comes the most important step - attaching flowers. My experience is to first cover the entire frame with large greenery, then accent with main flowers. Remember to apply even pressure when attaching, or it's easy to end up sparse on one side and dense on the other. I now hang it up to check the effect after each section and adjust as needed.
When it comes to decorative accents, there are really so many choices. Besides dried flowers, you can use ribbons, small bells, pinecones, etc. During Christmas, I add some gold or silver decorative balls for a festive look. For Halloween, I choose darker flowers and add some pumpkin decorations to create a mysterious atmosphere.
Finally, about maintenance. Dried flower wreaths are most vulnerable to moisture, so they must be hung in well-ventilated places. Also, use a hair dryer to blow them occasionally - this removes dust and helps maintain the flowers' shape. If you notice some flowers discoloring or deforming, replace them promptly to keep the wreath looking beautiful.
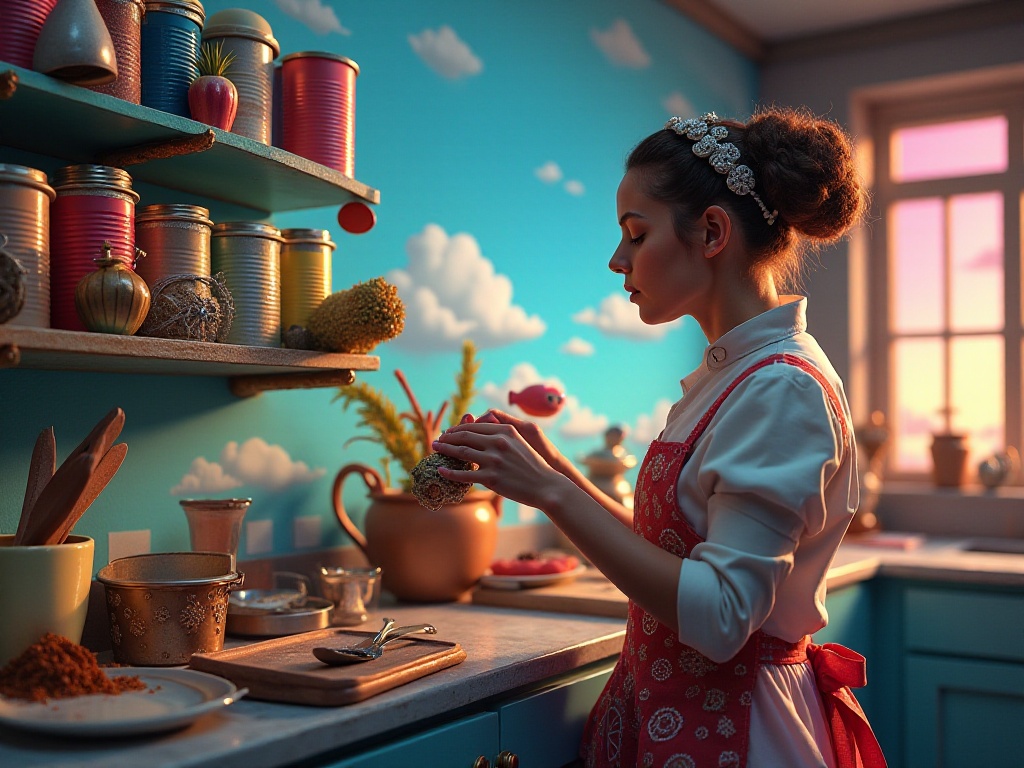
Holiday Creativity
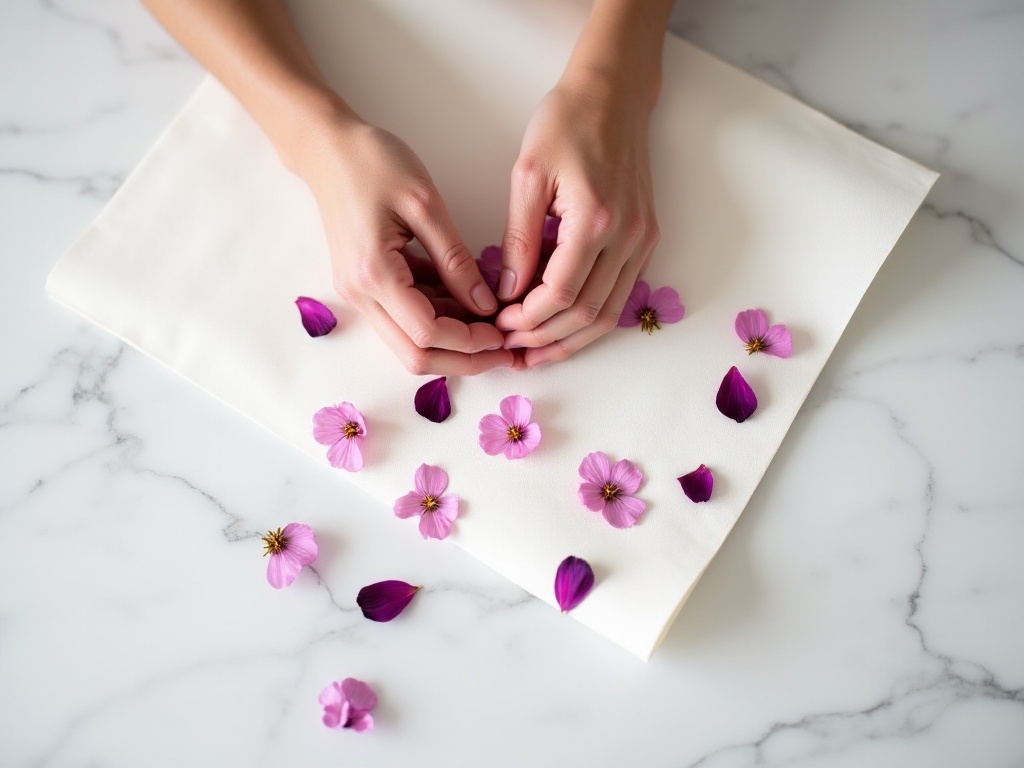
Valentine's Day is always one of the most anticipated holidays, but giving the same gifts every year gets boring. Last year I had a sudden idea to make a dried flower frame, and surprisingly it turned out amazing - when I posted it on social media, many people asked where I bought it.
Material preparation is actually simple: first, your favorite fresh flowers (I chose baby's breath and daisies), a thick book (preferably large dictionaries or art books), and a frame (I bought mine on Taobao for twenty or thirty yuan).
Making dried flowers is the step that tests patience most. First, gently pluck the petals, trying to keep them intact. Then place the petals between tissue paper and press them in the book. Here's a tip: place additional weight on top of the book - this makes the pressed flowers more flat. It usually takes 3-4 days, depending on petal thickness.
While waiting for the flowers to dry, you can prepare the frame background. I used beige cardstock, which looks especially warm and cozy. You can also write small poems or love notes on the cardstock to make the whole piece more meaningful.
Once the flowers are completely dry, you can start arranging. I suggest first sketching the positions on the cardstock in pencil, then fixing flowers one by one. Double-sided tape works better than glue here, as glue might wrinkle the cardstock. Be especially careful when fixing - dried flowers are very fragile and break easily if you apply too much pressure.
There's also technique to final frame assembly. Make sure the frame glass is especially clean, as dust will affect the overall look. Also, be careful not to let the glass directly press on the dried flowers - you can place a very thin layer of foam paper between the flowers and glass for protection.
Life Hacks
Speaking of life tips, I've really collected a bunch! For example, when cleaning glass, many people use professional glass cleaner with cloth, but using newspaper actually works much better. Because newspaper fibers are very fine, they don't leave any lint, and they add a bit of friction that makes cleaning especially thorough.
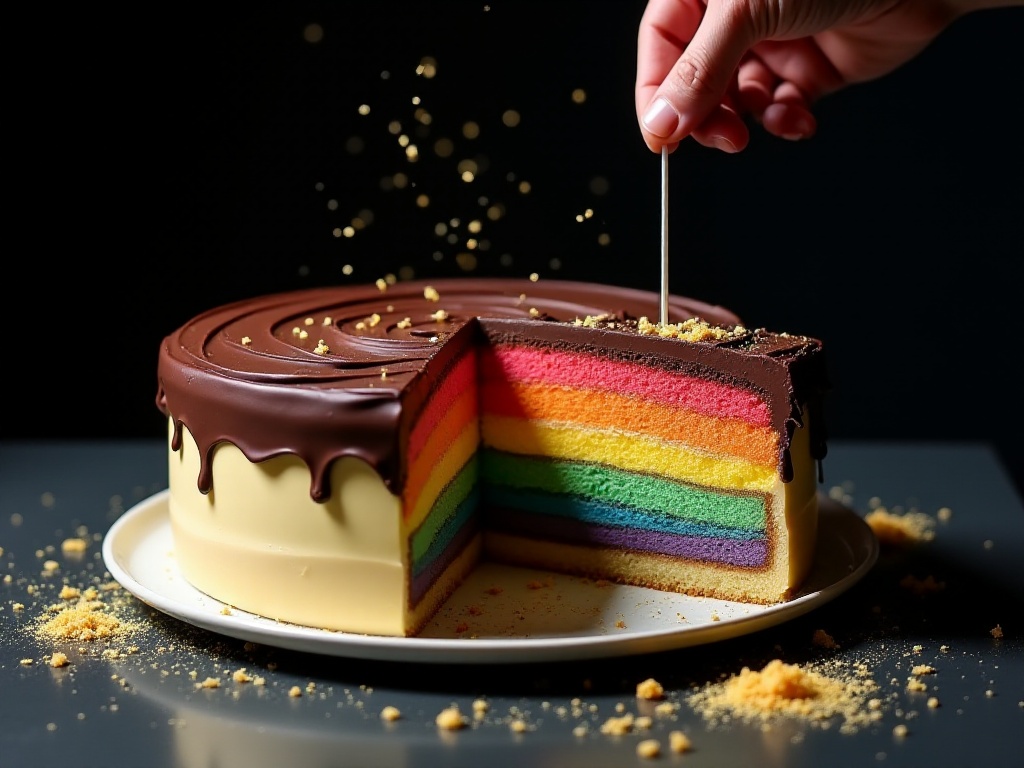
Using dental floss to cut cake is really genius! Previously using a knife would always deform the cake, and the cut surface wouldn't be smooth enough. With dental floss, just find the right angle and pull slowly, and you can cut perfectly smooth surfaces. Plus, floss is thinner and won't smear cream everywhere.
Here's another storage tip I recently discovered: using clear storage boxes + labels to manage skincare products. Arrange all skincare products in order of use, then label the boxes (like "Cleansers", "Serums", etc.) - this makes each skincare routine feel ceremonial, and you won't forget to use any products.
Final Thoughts
Through all these DIY attempts, my biggest realization is: manual skills can really be cultivated gradually. You might feel clumsy at first, but with practice, you'll eventually find your groove. Plus, transforming your home yourself brings such a sense of achievement - I feel especially happy every time I look at my creations.
Most importantly, these little creative touches make my home warmer and more alive. Each decoration carries my intentions and memories - something money can't buy. I hope after reading this article, you'll also be inspired to start your DIY journey. Remember, the beauty in life often comes from our little bits of care and attention.
Have you tried any of these craft ideas? Or do you have unique life hacks to share with everyone? Welcome to exchange ideas with me in the comments. After all, life is about making things more beautiful through constant trying and sharing.
Related articles
-
Make Your Life Hacks Simpler
2024-12-30
-
These Life Hacks Have Made My Life Easier and More Affordable - I've Been Using Them for Over a Year
2025-01-16
-

Do You Really Need 8 Glasses of Water Every Day? Myths and Facts About Drinking Water
2024-12-25
-
Life Hacks and Crafts Encyclopedia: From Small Tips to Major Transformations
2025-01-01